Printing With a Pasta Maker Press
A PDF version can be downloaded here: Printing Examples With a Pasta Maker Press
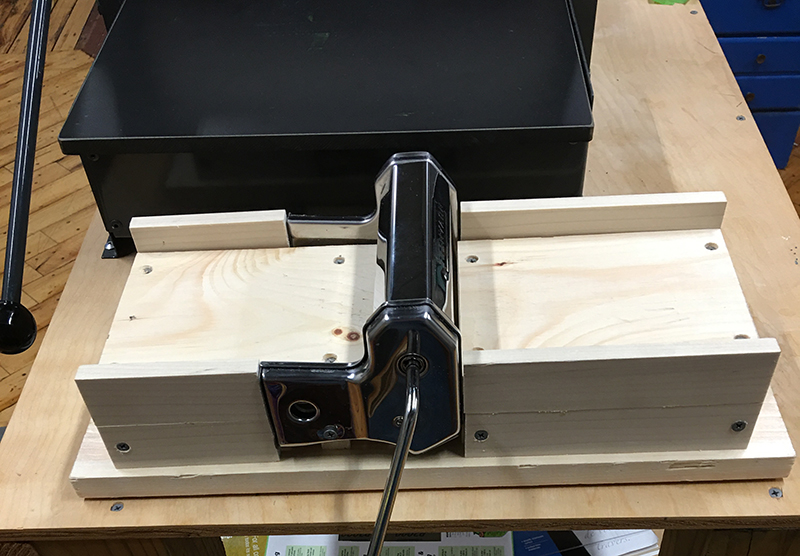
Shown below is a picture of a paste printing press I made from a Nuvantee Pasta Maker. There is nothing special about this pasta maker other than it was the cheapest press with reasonable reviews.
The instructions for making this press can be found at “Pasta Maker Press”. The total cost to make this press was around $60 and about 2 hours of time.
Materials
Materials Purchased:
Nuvantee Pasta Maker on Amazon - For $35.95, it also came with one attachment and a clamp, which I didn't need.
I am going to show 3 styles of prints.
- A dry pointing etching on the thin plastic from a take-out salad container
- A dry pointing etching on the thin plexiglass sheet
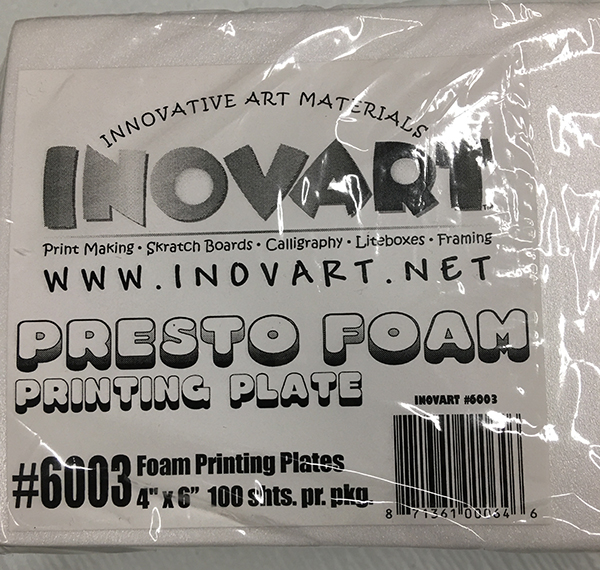
- A relief print using a 4”x6” Inovart Presto foam board
Image
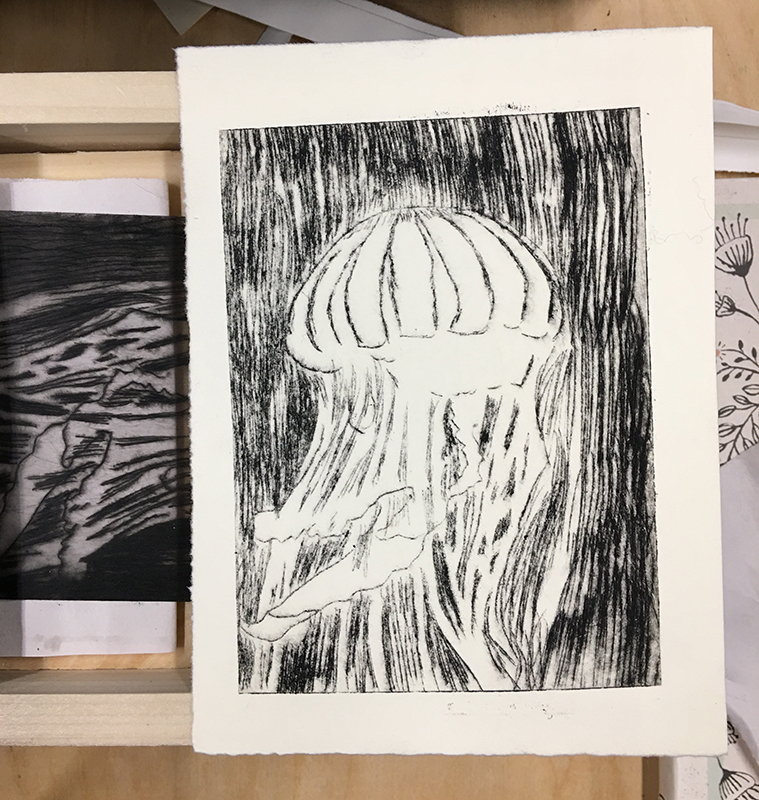
I found a picture of a jelly fish on the unsplash.com site to use as the same image. The picture below shows the salad container sheet that a cut. Once I finished the drypoint I trimmed the plastic to be the same size as the image.
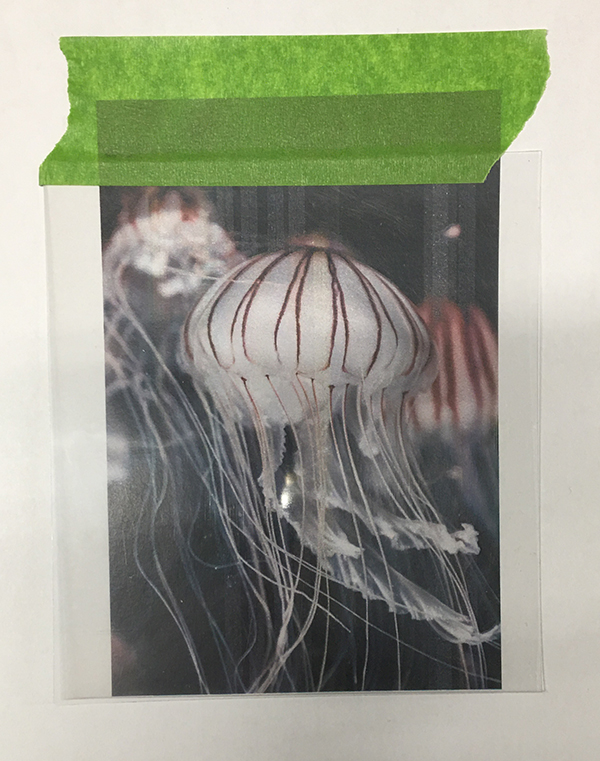
Photo by Joel Filipe (https://unsplash.com/photos/9mz2XG6stQg)
Making the Print
The pasta press has a dial for 7 thicknesses. From this print I set the dial on 6, this gave the best results.
One bottom I placed a small sheet of news print, and then the inked plate.
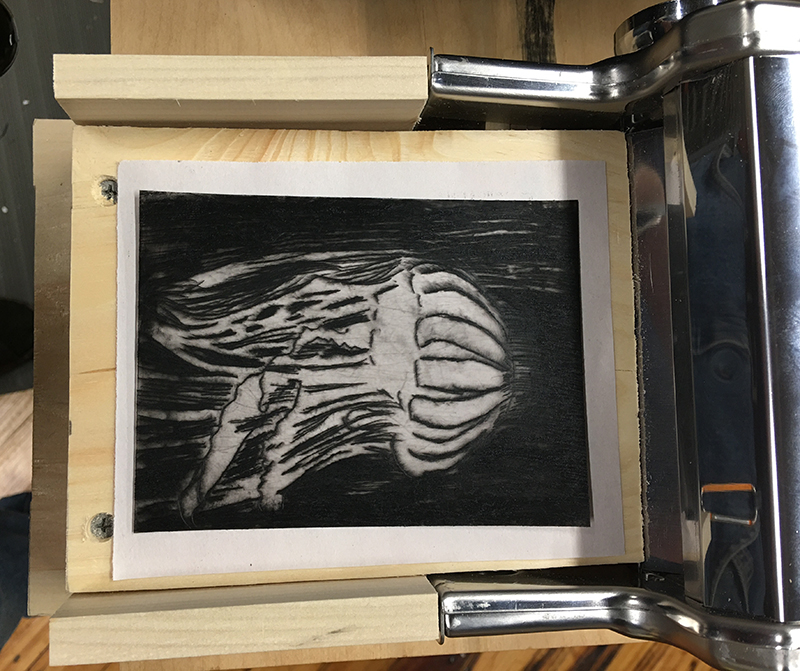
Next came the paper, a heavy weight Rives paper, soaked for 10 minutes and then blotted.
This was followed by another sheet of newsprint and small piece of gripper blanket from a regular etching press.
Shown below is the result from the second print.
A Second Dry Point Example
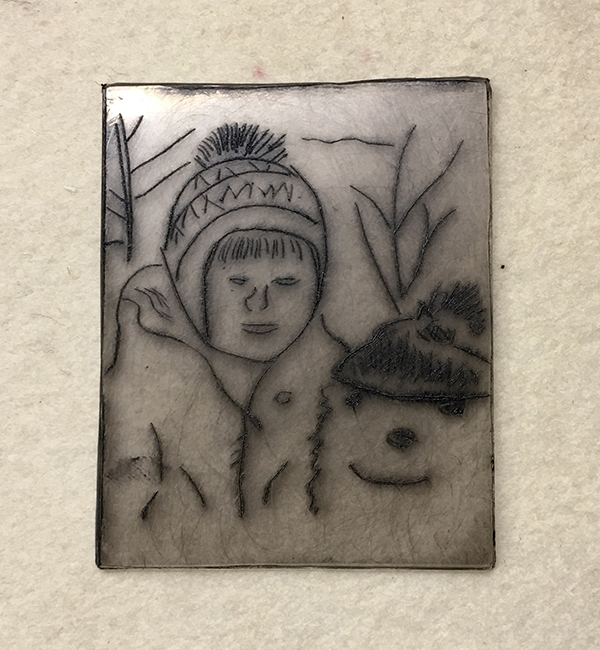
In the second example I used a small dry point a made a while ago on thin sheet of plexiglass (0.053in). Since the plate was so small I used a thin sheet of aluminum as the bed. With the thicker plate and aluminum bed I needed to set the pasta press at level 7 (highest setting), and used 4 sheets of newsprint instead of the gripper blanket I used in the first example.
Shown below in the ink plate
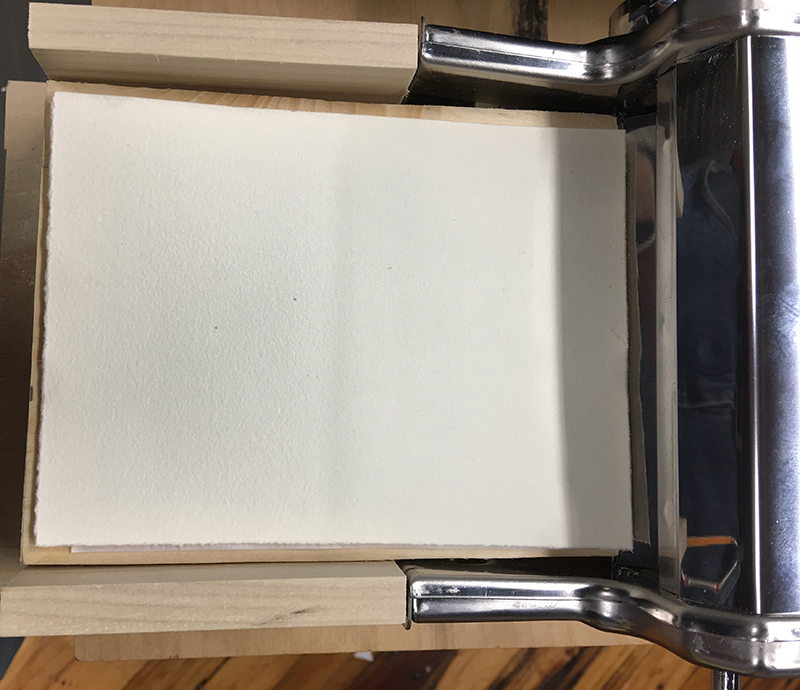
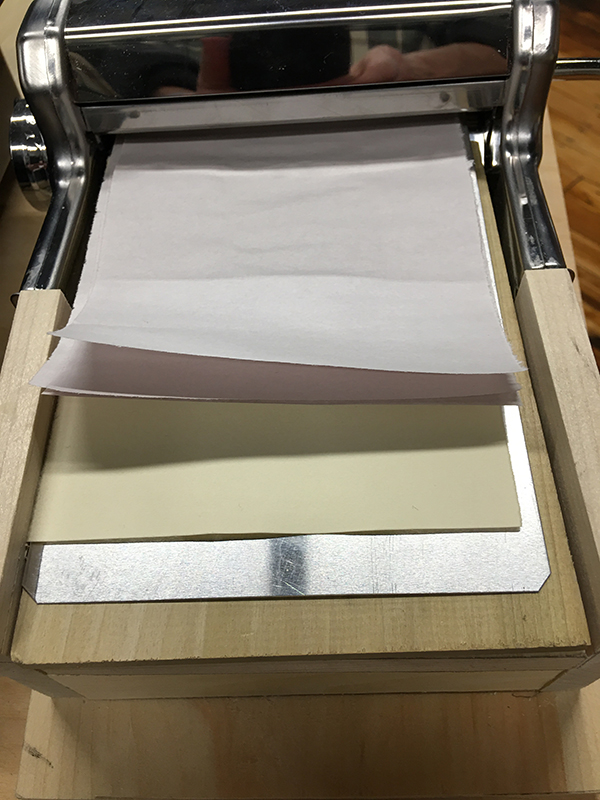
The next image shows everything on the press ready to print. The aluminum plate, then the inked plate, heavy weight Rives paper, soaked for 10 minutes and then blotted, followed by 4 sheets of newsprint. I pushed the aluminum plate into the rollers, once the rollers got to the plexiglass, the pressure from the rollers took over.
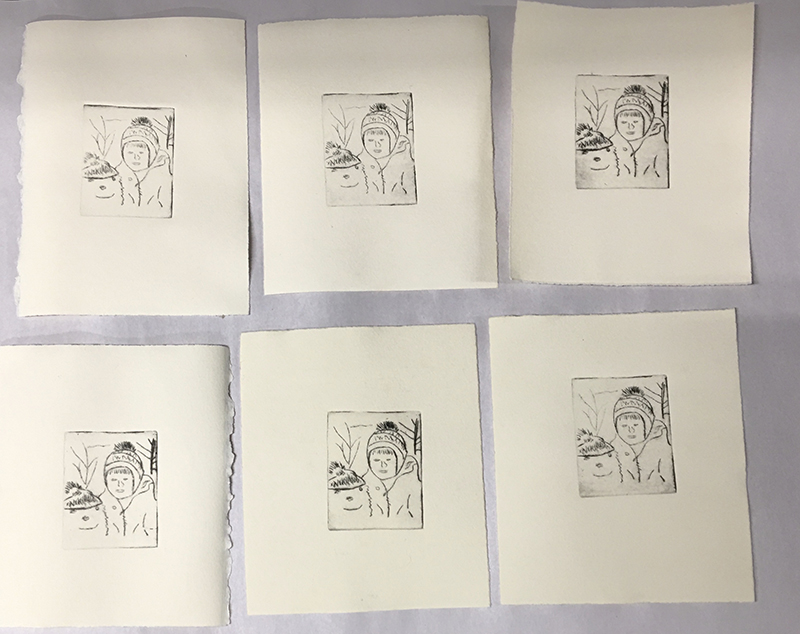
The final print of a girl and a snowman:
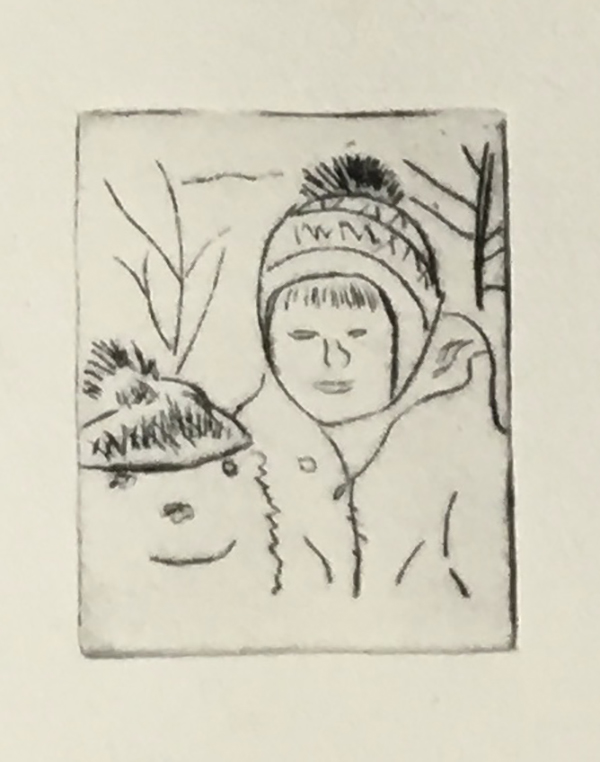
I did a series of six prints altogether, with fairly consistent results:
Relief Print Example
For the relief print example, I used presto boards, which are very thin foam boards:
I used the same jellyfish image, but this time I place the image on top of the presto plate and traced over the white portions of the image with a ball point pen, which left indentations in the plate. Shown to the left is an image of the inked plate.

To print, I placed a dry sheet on the heavy weight Rives paper, and then placed the inked presto plate on top. I then experimented with different thickness settings on the pasta maker:
5, 4 and 3
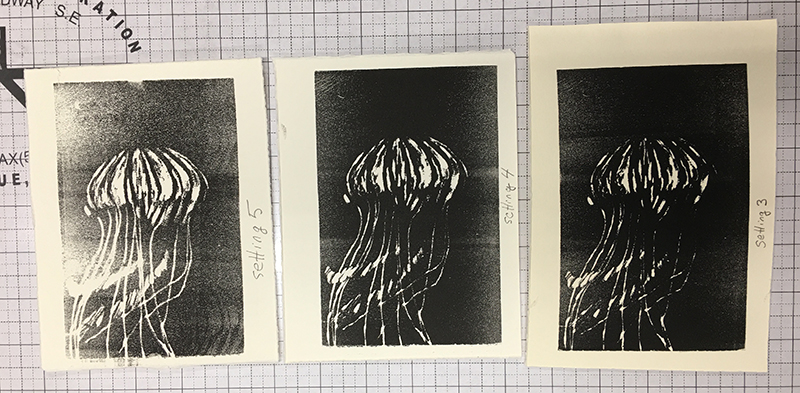
The darkness image was at setting 3, but this also really squished the presto board, which might limit the ability for multiple copies. Setting 4 seemed to be most optimal setting.
Lastly, a picture of all 5 prints, the 2 etchings and 3 relief prints:
